How to Check and Replace Honda Civic Fuses (2006 thru 2011)
Vehicle problems that appear to be the result of electrical issues are commonly nothing more than symptoms of a fuse replacement need. Instead of a more troublesome and expensive internal electrical problem, a fuse that requires attention is a maintenance concern that can be handled without having to seek the assistance of a professional mechanic. Your Honda Civic’s fuses are a possible culprit for a minor electrical disturbance and can be solved in short order.
Start with your Honda Civic turned off. The engine should be stopped and the ignition should be switched to “off”. For safety, disconnect the negative battery cable from the battery by lifting the hood, loosening the bolt that secures the black battery cable to the battery, and removing the cable’s clamp from the battery terminal. Allow the cable to rest somewhere away from the negative battery terminal post until you are finished replacing the fuse.
Locate the fuse box. For your Civic, the fuses are situated under the hood on the left side of the engine compartment. The remaining fuses can be found inside the Honda’s cabin, under the steering column.
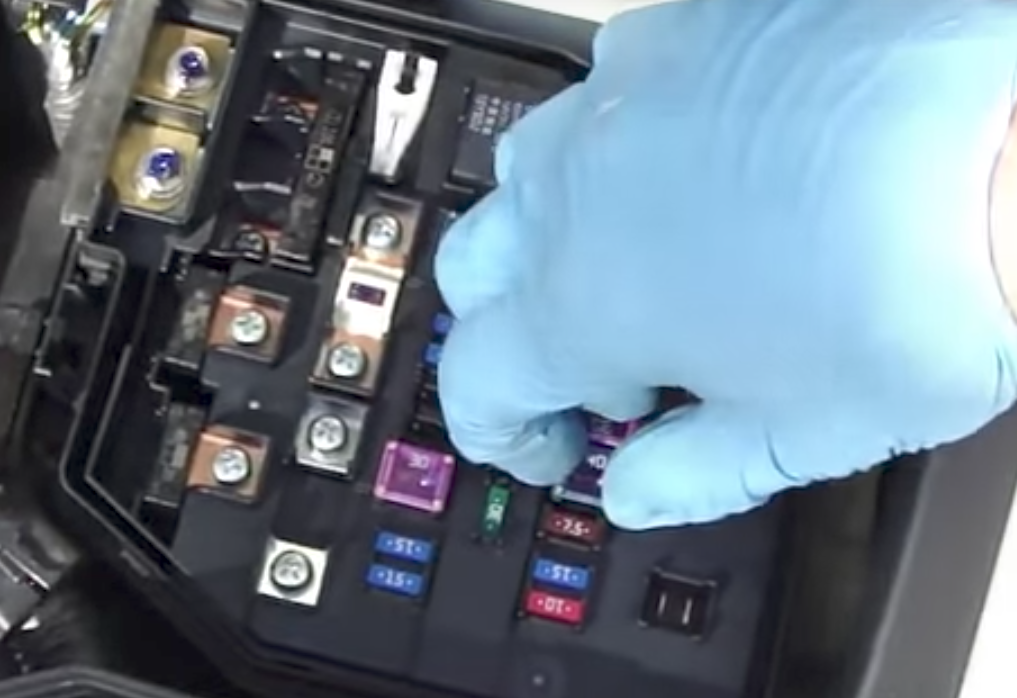
Find and press the tab on the fuse compartment to reveal the fuses. Inside, you will be able to see the array of fuses and target the fuse that corresponds with the trouble your Civic is having. On the inside cover of the fuse box is where the chart listing fuses and their primary functions is found. Use the chart to identify which fuse should be replaced.
Inspect the fuse you suspect to be causing the issue with your Honda. A blown fuse will appear darkly discolored and may exhibit characteristics consistent with heat damage. Remove the fuse(s) that fit the description of a blown fuse and replace it with a fuse of equal rating. The rating for the fuse is listed on the aforementioned chart located on the inside cover of the fuse box.
Complete the replacement by closing the fuse compartment and pressing the cover until it snaps shut. Return to the battery to reconnect the negative battery cable.
Place the negative battery cable clamp back around the battery’s negative terminal post. Tighten the bolt on the cable’s clamp until the cable is unable to be moved by hand. Close the hood.
You can test your replacement by turning the ignition on and testing the various functions that were attributed to the issue in the first place. If all electrical functions have been restored, your fuse replacement can be considered a success.
Model Application: Honda Civic (DX, DX-G, LX, EX, EX-L, and Si), 2-door coupe, 3 door hatchback and 4-door sedan 2006 2007 2008 2009 2010 2011.


